Preserved forum archive. This topic stores the original first post and locally mirrored RPG Maker Web attachments when available. It is posted by the BMMPlay archive account, not by the original creator.
Original Source
- Original title: Simple Sprite Formatting Tutorial
- Original author: Imploded Tomato
- Original date: June 29, 2014
- Source thread: https://forums.rpgmakerweb.com/threads/simple-sprite-formatting-tutorial.29164/
- Source forum path: Game Development Engines > RPG Maker Tutorials > RMVXAce Tutorials
Summary
Greetings Community, I have decided to make a simple sprite formatting tutorial for RPG Maker VX Ace. I prefer to use Paint.net but other software should suffice as well. - 1st step is to create a new .png image which is 100 by 100 pixels.
Archived First Post
Greetings Community, I have decided to make a simple sprite formatting tutorial for RPG Maker VX Ace. I prefer to use Paint.net but other software should suffice as well.
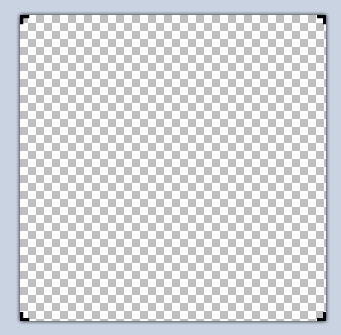
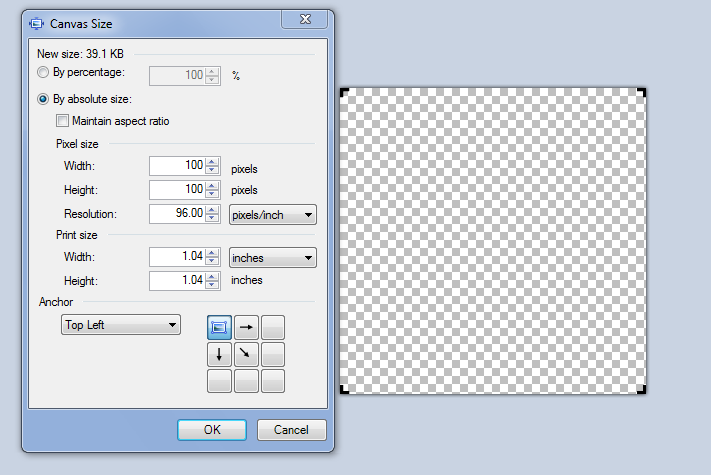
- 1st step is to create a new .png image which is 100 by 100 pixels.
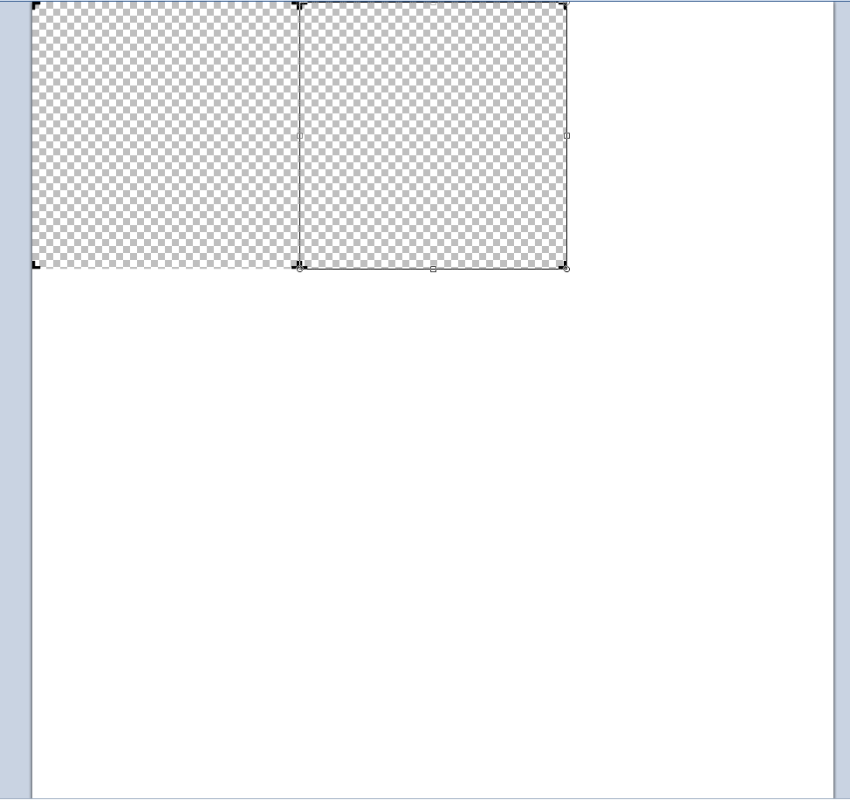
- 2nd step is to mark the corners of the 100 by 100 pixel square (Optional: Delete the white space to make it transparent.)
Protected download
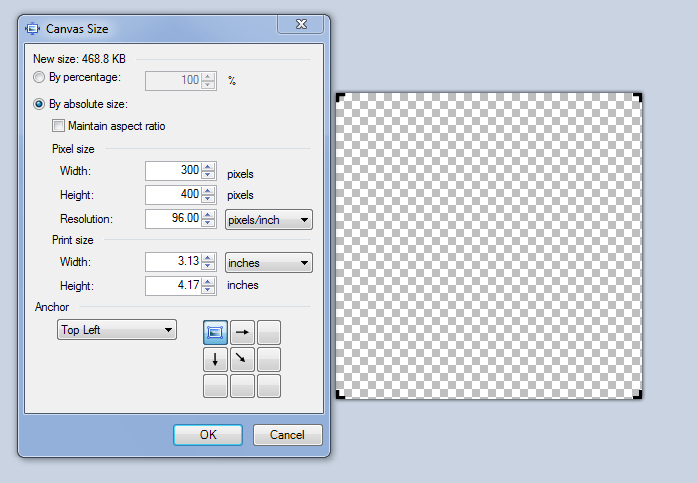
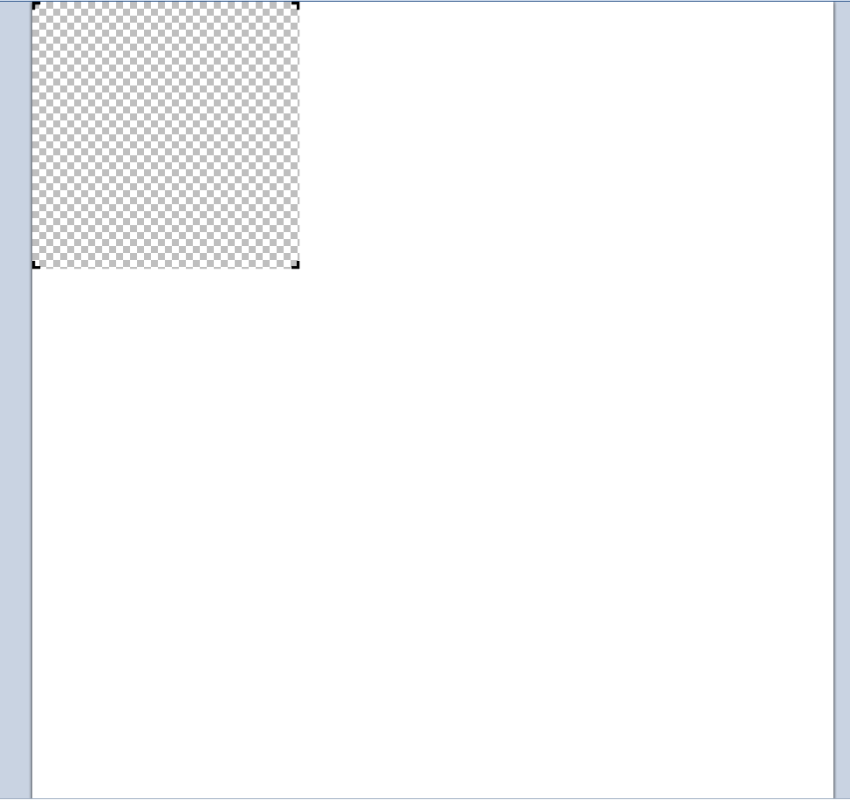
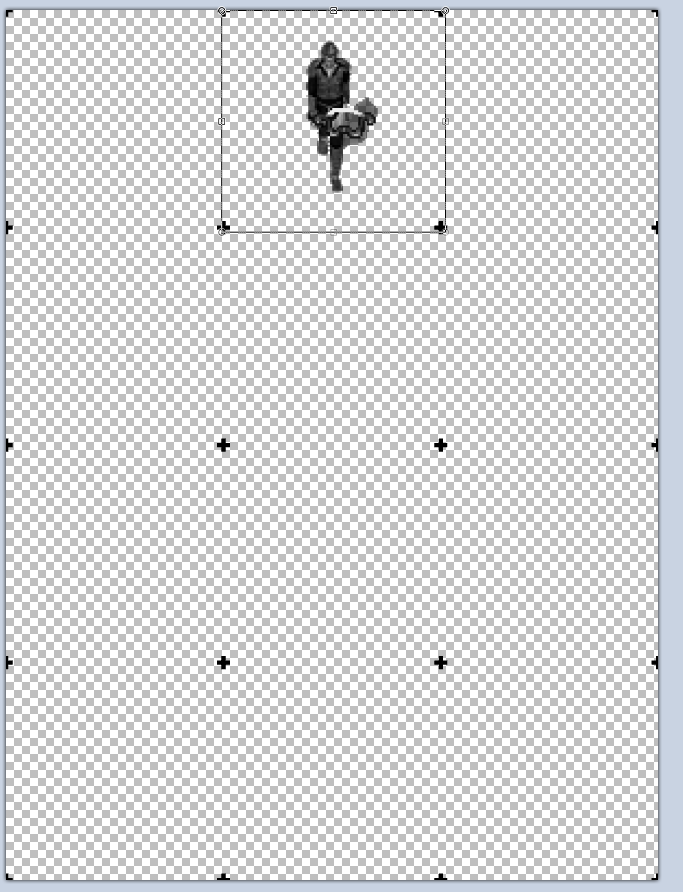
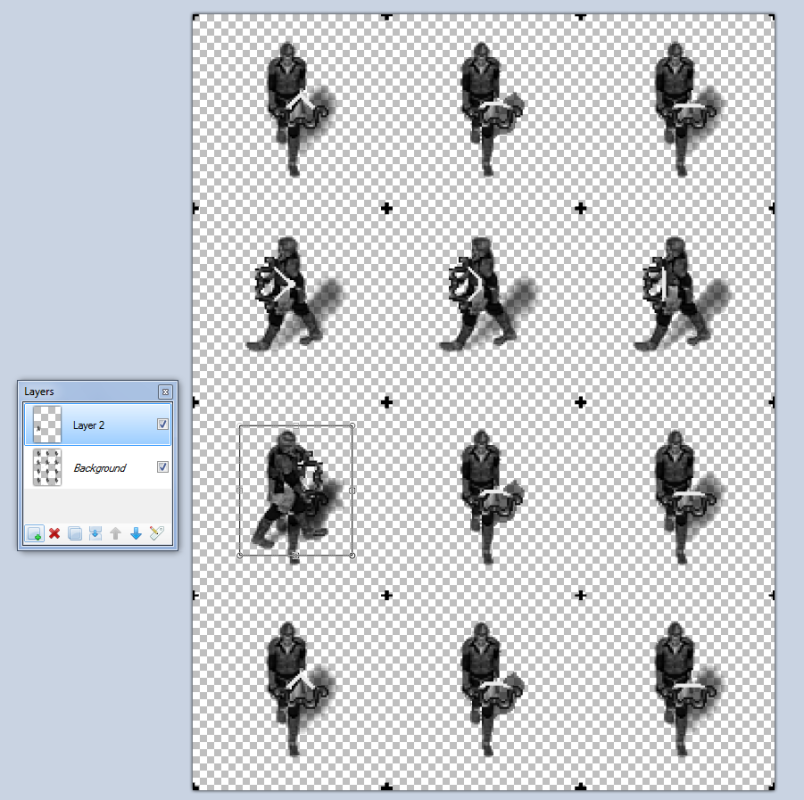
- 3rd step requires adding more pixels to the image, we're going to multiply the horizontal and vertical pixels of the square by 3 and 4 making our square a 300 by 400 pixel rectangle.
Protected download
Protected download
- 4th step involves coping and pasting our marked corners so that they fill up the empty space.
Protected download
Protected download
Protected download
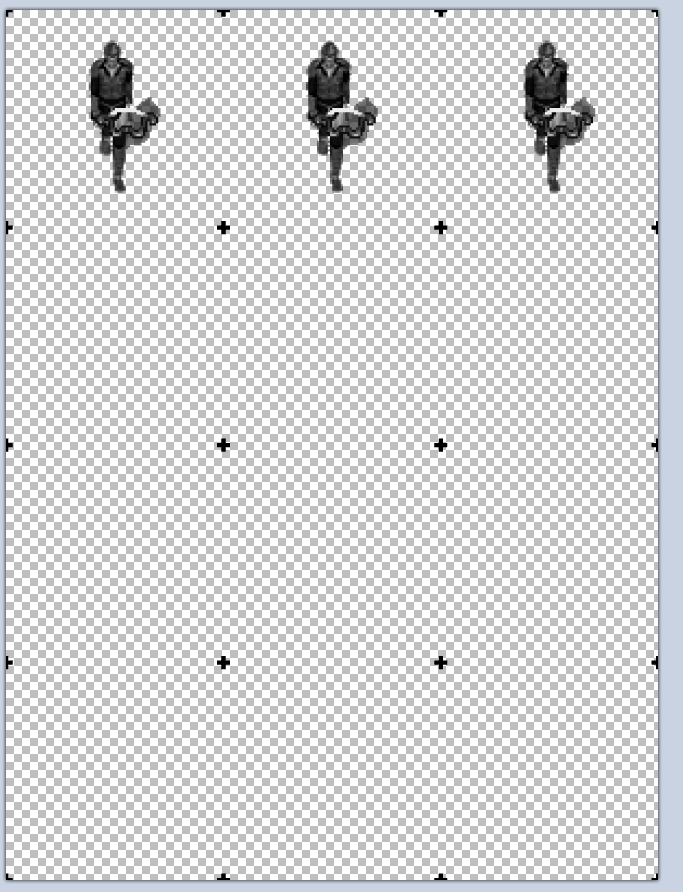
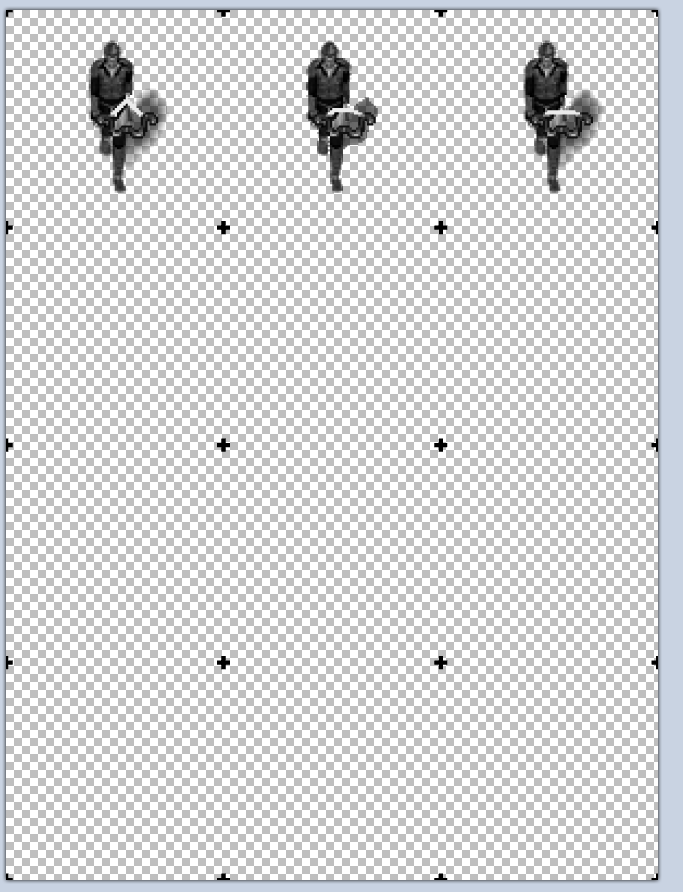
- 5th step involves copying and pasting you're sprite so that you can use it as a place holder for future sprites.
Protected download
Protected download
Protected download
Protected download
- 6th step is to save you're sprite sheet as such " $example.png ". (The reason for the " $ " sign in the beginning of the name is because RPG Maker VX Ace will recognize that .png graphic as a 3 by 4 sprite sheet instead of 12 by 8 sprite sheet.)
I hope this tutorial helps you, feel free to leave a question, comment, or pm me, thanks.
- 1st step is to create a new .png image which is 100 by 100 pixels.
- 2nd step is to mark the corners of the 100 by 100 pixel square (Optional: Delete the white space to make it transparent.)
Protected download
- 3rd step requires adding more pixels to the image, we're going to multiply the horizontal and vertical pixels of the square by 3 and 4 making our square a 300 by 400 pixel rectangle.
Protected download
Protected download
- 4th step involves coping and pasting our marked corners so that they fill up the empty space.
Protected download
Protected download
Protected download
- 5th step involves copying and pasting you're sprite so that you can use it as a place holder for future sprites.
Protected download
Protected download
Protected download
Protected download
- 6th step is to save you're sprite sheet as such " $example.png ". (The reason for the " $ " sign in the beginning of the name is because RPG Maker VX Ace will recognize that .png graphic as a 3 by 4 sprite sheet instead of 12 by 8 sprite sheet.)
I hope this tutorial helps you, feel free to leave a question, comment, or pm me, thanks.
Downloads / Referenced Files
Log in to download
Log in, then follow the RPG Maker Developers Group to see these download links.
Log in to downloadReferenced Images / Attachments
Creator Claims / Removal
If you are the original creator and want this listing reassigned, edited, or removed, join BMMPlay and contact the moderators with proof that matches the original RPG Maker Web profile, linked GitHub, itch.io page, or another public creator identity.
Replies (0)
No replies yet.
0
replies
1
view
Topic Summary
Loading summary...