Before we actually start working, let’s take a look at the <model-viewer> html tag. I’ll explain what each attribute does. And for those who have no idea what I’m talking about:
HTML:
<div id="test" style="width: 100%; height: 100%;"></div>
Here,
<div></div> ---> Opening and closing tag
id, style ---> Attribute
width, height ---> Property
For the <model-viewer> tag, we’ll use this setting:
HTML:
<model-viewer id="" rotation-per-second="" loading="" interaction-prompt= "" ar="" auto-rotate auto-rotate-delay="" ar-modes="" camera-controls="" src="" data-js-focus-visible="" ar-status="">
</model-viewer>
id = The name/identity that’s given to an element. Having an id is very useful as you can use it to control different properties of the element from the outside via javascript.
style = The css style of the element. There are many properties that we can assign using the style attribute but we will mainly use width, height, left and top. I’ll come to this later.
rotation-per-second = How many times the model will rotate per second. The unit is degree or radian.
loading = The loading type of the model. “Eager” makes the model show as soon as it’s loaded. “Lazy” doesn’t show the model till it’s interacted it. Default is lazy but we will use eager.
interaction-prompt = Whether there should be a little hand pointing to the model to tell the user to interact with it or not. I set this to “none” but if you want it you can set it to “auto”
auto-rotate = turns on auto rotation. Doesn’t accept values.
auto-rotate-delay = How long should the model wait before starting to rotate. I use 0.
src = The source of the model. In my case its inside the models folder that I made so the source is “models/model_name.glb”
The other ones don’t really matter so I won’t explain them.
We will also use buttons to create clickable areas in the model. So that when the player inspects them, different common events can be triggered. Let’s look at the button tag and its attributes:
HTML:
<button onClick="" slot="" data-position="" data-normal="">
</button>
onClick = This is the common event/js function to be triggered when the button/hotspot is clicked.
slot = This is sort of like id. It will give the button an identity and the button will follow the model as it moves. This MUST start with hotspot- otherwise it won’t work. Example: hotspot-hand (a clickable area in the hand of the model)
data-position = The x,y and z coordinates that we will use to position the hotspot. You will need to play around with the values to find the perfect one for your model.
style = same as the style attribute used in the model-viewer tag. This will let us change the size and colour of the buttons/clickable areas.
data-normal = Not really sure what this does. But it’s necessary so don’t leave it blank. Just put in whatever 0 0 1, 1 0 0, 0 0 0 whatever you want.
You’ll see what type of values to insert in all the attributes from examples I will show you later.






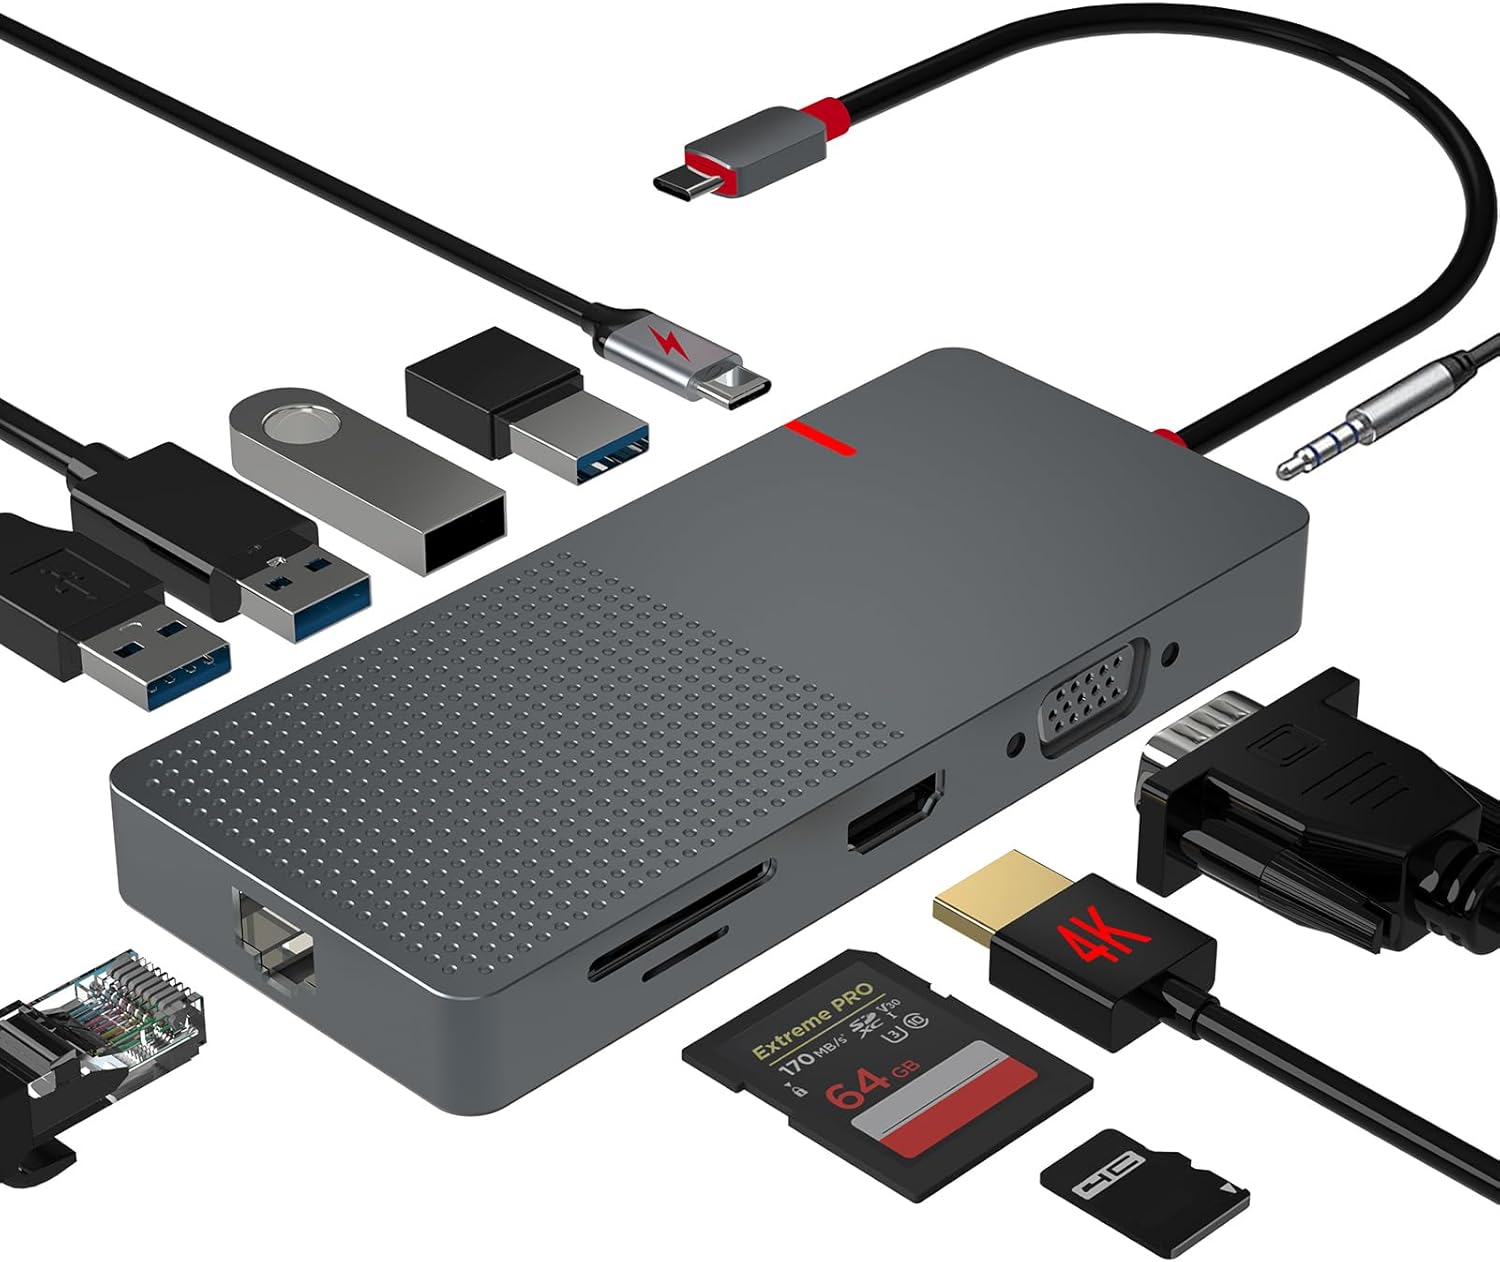 ANYPLUS USB C Docking Station Dual Monitor
Multiport USB-C dock for dual-monitor laptop desks and cleaner cable management.
View on Amazon
ANYPLUS USB C Docking Station Dual Monitor
Multiport USB-C dock for dual-monitor laptop desks and cleaner cable management.
View on Amazon

