To do this, you need to get into System Properties, which should be found in the System window. Go to Control Panel > System and Security > System or just press the Windows+Pause/Break keys together. However you get there, look for a link for "Advanced system settings." You could also just type "environment variables" in the Windows search bar; the first option should be from your control panel, which is what you need.
Now that you (hopefully) have your System Properties window, click the Advanced tab and then click "Environment Variables." Under User variables select Path and click on edit. It's possible you won't have Path listed there; in that case, click the New button and put the Variable name as "Path" (no quotes). That should get us all caught up to the same point.
In the Edit environment variable window, hit new and type in the location of you JDK install (you can just copy and paste from the explorer address bar). If you used the default settings, it should look something like this:
Code:
C:\Program Files\Java\jdk-11\bin
With that done, click okay, and look below System variables for JAVA_HOME. If it's not there, make it (the same way you would have with Path above), then edit it to include...the same thing! This time, leave off the \bin directory from the end. It'll probably look like this:
Code:
C:\Program Files\Java\jdk-11
We're finally done with this step. Click OK until you run out of OKs. Go ahead and open that command prompt again and we'll make sure it's working. Type in:
Did you get a version number? If so, go on to the next step. If not...you messed something up. Sorry about that. Try again. Note that if you left the command prompt open between installs, you'll likely have to exit it and open a new instance to get the new stuff to show.




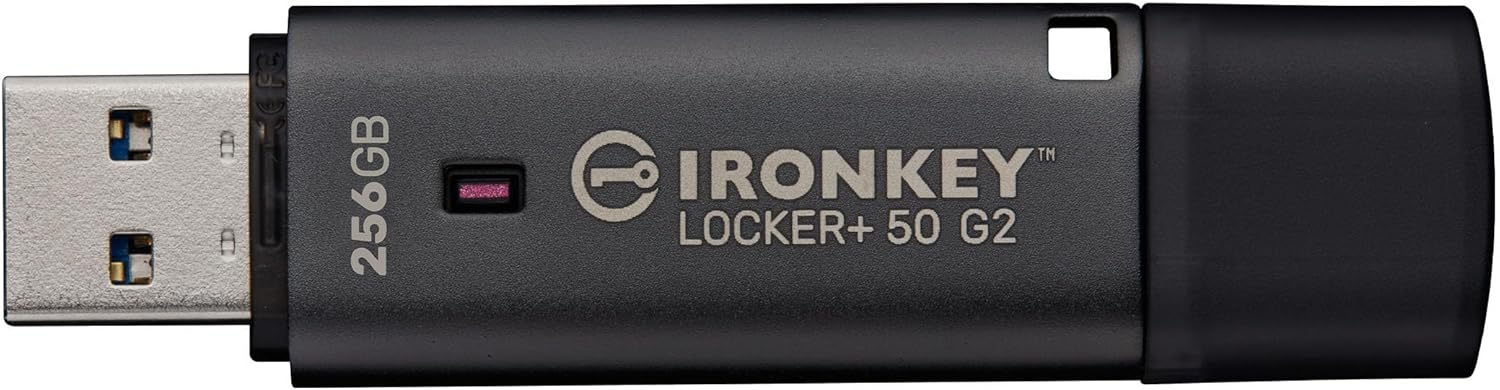 Kingston IronKey Locker+ 50 G2 256GB Encrypted USB Drive
Encrypted USB storage for secure files, travel documents, and work backups.
View on Amazon
Kingston IronKey Locker+ 50 G2 256GB Encrypted USB Drive
Encrypted USB storage for secure files, travel documents, and work backups.
View on Amazon

