FyxLFX
Version 1.1
Introduction
This script allows the user to setup light effects on their maps. Its unique - you can use any image, at any size. You can also add effects to these light effects.
This is the Ace equivalent of my VX script.
Features
- Use any sized image for a light effect.
- Add lots of effects to said light effects.
- Define these light effects from the script editor, or on the spot in an event's comment!
- A switch is given that turns the system of/on..this can be used in conjunction with a time script!
- Lots of control over how the lights work.
Screenies
Day:[IMG]http://i1199.photobucket.com/albums/aa479/FxFyX/Screenie_0-1.png[/IMG]
Night:
[IMG]http://i1199.photobucket.com/albums/aa479/FxFyX/Screenie_1-1.png[/IMG]
Example:
[IMG]http://i1199.photobucket.com/albums/aa479/FxFyX/Screenie_2-1.png[/IMG]
Script
Actually, its a demo! Here you go:
FyxLFX v1.0
FAQ / Notes
How do I setup a light effect?
First, you need to create a light preset in the config section of the script. This is an example:
Code:
    "Ghost" => {
      :filename => "ghost",
      :flicker => [0,0],
      :zx => 2,
      :zy => 2,
      :blend => 1,
      :color => [-1,-1,-1],
      :offset => [0,-16],
      :opacity => -170,
      :wave => [2,5,1],
      :fadein => true,
    },
As you can see there are lots of things you can define when making a preset; here is a list of them:
Code:
  # Options for the preset are as follows; if a * is next to it, its mandatory:
  #
  #   :filename *  The name of the file in Graphics/Lights/
  #   :fadein      Should the effect fadein? 0 is false(default), 1 is true.
  #   :flicker     Should the light flicker? Must be an array of two numbers.
  #   :zx          Zoom X of the effect, 1 is default
  #   :zy          Zoom Y of the effect, 1 is default
  #   :z           Z coordinate of the effect. 0 is in front, 1 is behind.
  #   :blend       0 is normal, 1 is add, 2 is subtract
  #   :switch      Adheres to the light switch? true or false. Default is true.
  #   :color       An array of 3-4 numbers, like so: [155,100,0] # Yellow
  #                To make a random color, put -1 in the color index spot, so
  #                a fully random color would be [-1,-1,-1]
  #   :offset      An array of two numbers. [-1,1] will offset the image left
  #                and down one pixel.
  #   :opacity     Anything from 0 to 255. Sets maximum opacity for the effect.
  #   :wave        An array of 3-4 numbers, [amp, length, speed, phase]
  #
  # :wave makes the image wiggle. Use the help file for further information on
  # wave effects. Look up Sprite in the help file.
After you've set up your preset, then you add a comment on an event page of an event whom you want the light effect to display at/on.
Code:
# <prelfx string> OR <prelfx=string> OR <prelfx = string> # You get the idea.
If you'd rather define the light effect on the spot, you just place a comment like so in the event's page:
Code:
# <lfx fn lantern; zx 1; zy 1; bl 1; cl [0,150,255]; os [0,0]; op 210; w [2,50,10]>
That would use the fn(filename) lantern.png from the Graphics/Lights/ folder. the zoom_x is 1, the zoom_y is 1, etc, so on and so forth.
If you have any questions, feel free to ask.
If you use this in your project, don't forget to credit me




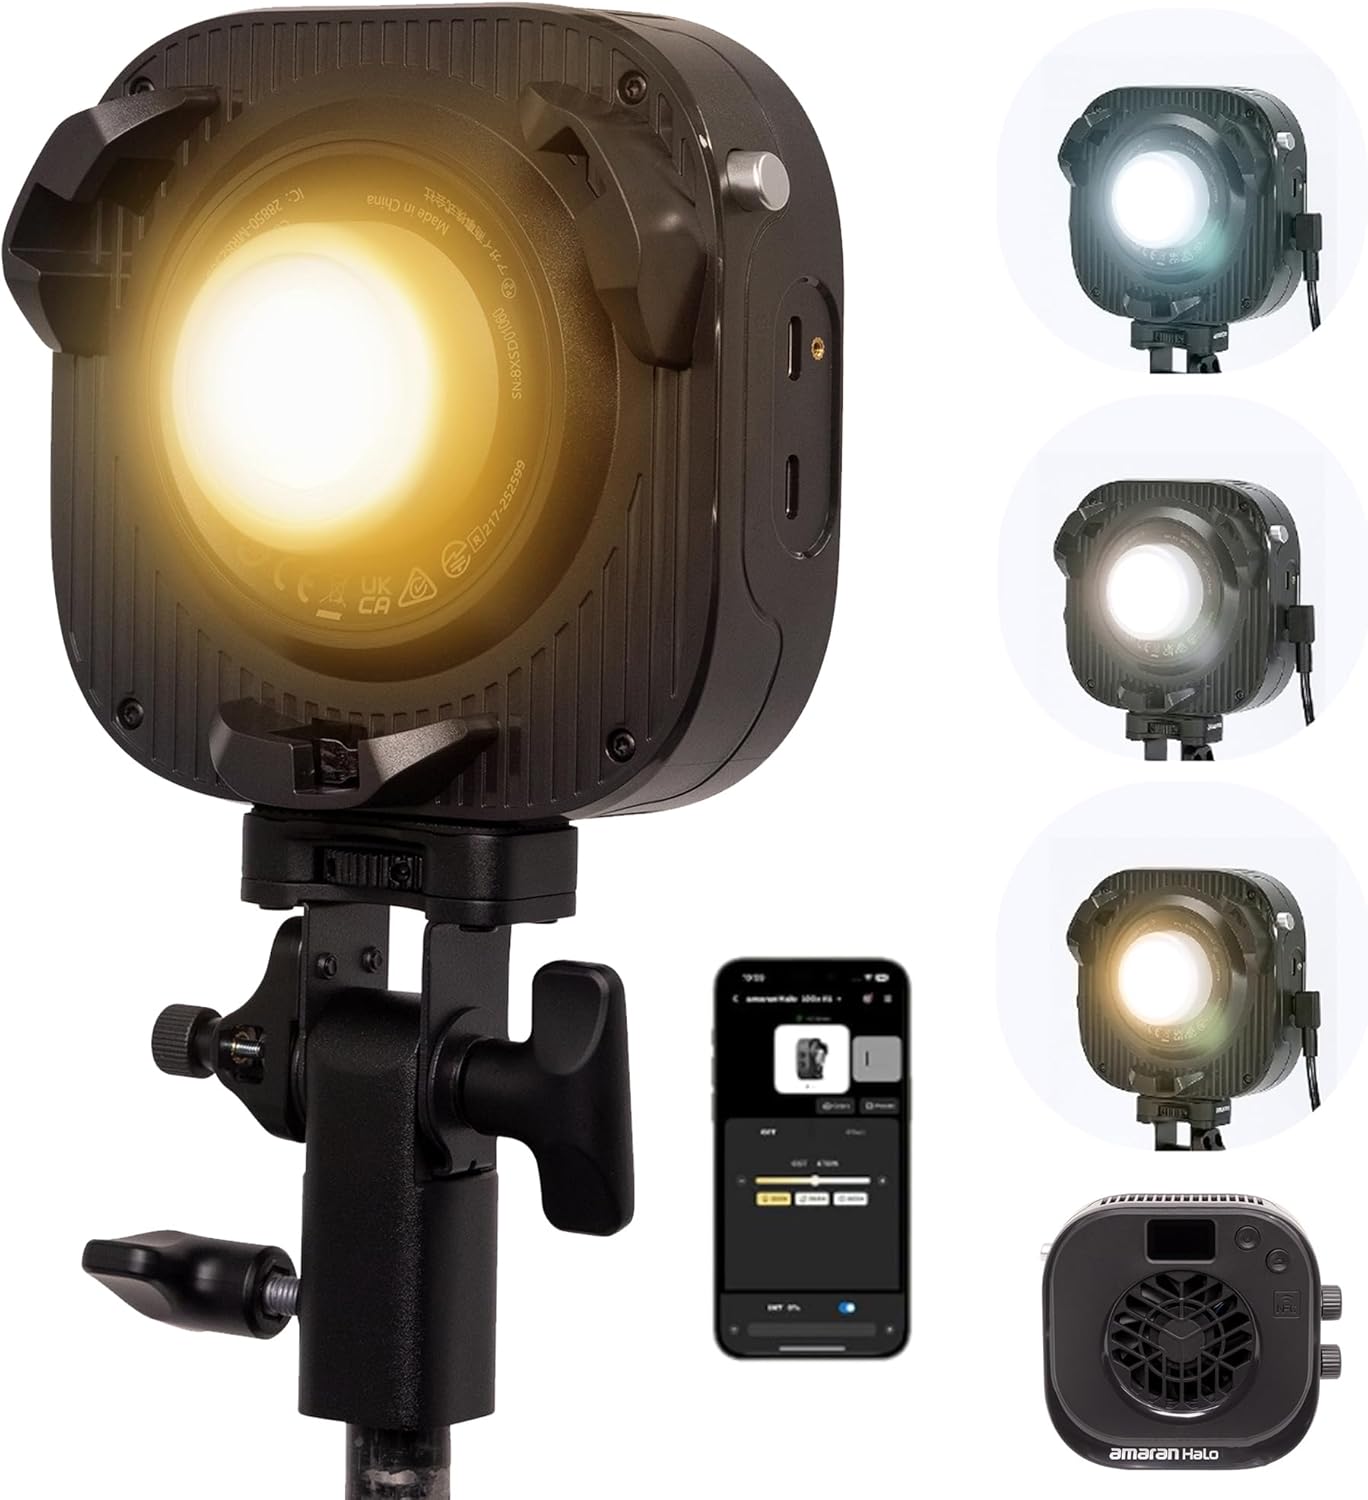 Amaran Halo 100X COB LED Video Light
Compact bi-color studio light for YouTube, TikTok, product shots, and live streaming.
View on Amazon
Amaran Halo 100X COB LED Video Light
Compact bi-color studio light for YouTube, TikTok, product shots, and live streaming.
View on Amazon