Evented Crafting System
aka: putting items on a table before cooking
This tutorial is for those people like me who want a crafting system that's more hands-on than many of the crafting plugins. While the plugins are great, they don't give complete control of what ingredient combinations are attempted to the player. Since I wanted players to be able to try whatever they wanted to try to make items, I came up with this system.
It basically lets the player put down ingredients that can be used to try to craft something. While this system works best with small combinations and a limited number of recipes, it's really only limited by how much time and effort you want to invest in it.
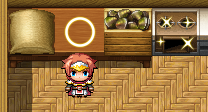
Harold is here and ready to become a master chef!
What this system can do:
- Let the player choose which ingredients to try to combine
- Leave ingredients on the table until the player either crafts or picks it back up
- Lets ingredients be added in any order
- Let the player use different methods to craft with the same ingredients to receive different results
What this system can't do:
- Make recipes for you
- Keep track of which recipes the player has discovered
- Make you a finished game
If you think this system is for you, then it's time to get started!
Step 1: Decision Time
Possibly the most important step and definitely the first thing to decide before getting things set up: just what do you want the player to be able to make?
Please no, Harold. Don't do that to us.
Since everything is evented for this system, it's best to keep things simple. If you want hundreds of possible recipes, perhaps use a crafting plugin instead, just so that you don't drive yourself crazy. You can use this system, but it's a lot more work on the developer to make sure everything works.
You don't need to know every possible recipe, but it's a good to have a general idea of what you'll be able to make. If you're making a cooking system, decide how many different ways you want to cook things, such as using pans, bowls, or ovens, as well.
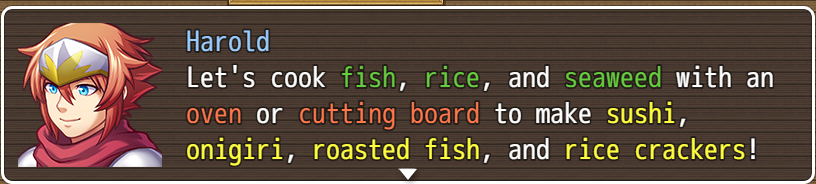
For this tutorial I've decided that there will be 3 ingredients and 2 methods of cooking that will let Harold make 4 cooked dishes.
Much more manageable, Harold.
Now that we know what we'll be making, it's time to decide how many possible ingredient spots we want the player to have. If you've already come up with all of your recipes, then it should be the maximum number of ingredients used. If you haven't decided on those, then consider with sticking with only 3 or 4. The more spots you have the more variables you'll need to use, and the harder it will be to keep track of all of your recipes, so try to keep it under control.
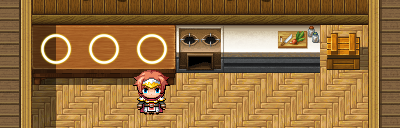
For most simple recipes, 3 spots will work well. We'll be using 3 spots for this tutorial, since sushi will require all three of our ingredients.
Harold's so excited that he's already prepped his kitchen!
Step 2: Setting up Your Variables and Items
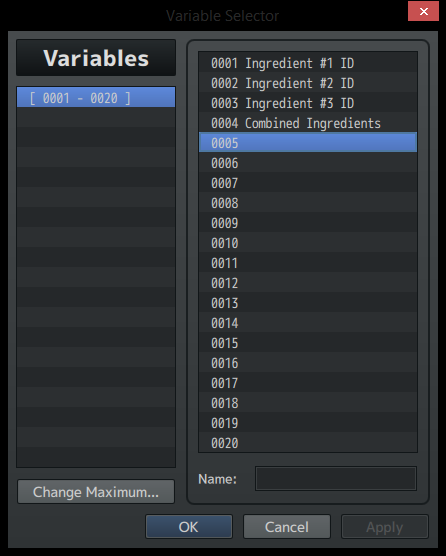
With the big decisions out of the way, it's time to start setting things up. Let's start with the variables we'll need. Each ingredient spot needs its own variable to keep track of what ingredient was added (labelled for easy reference). We also need a variable that we'll use to store and compare the ingredients to later.
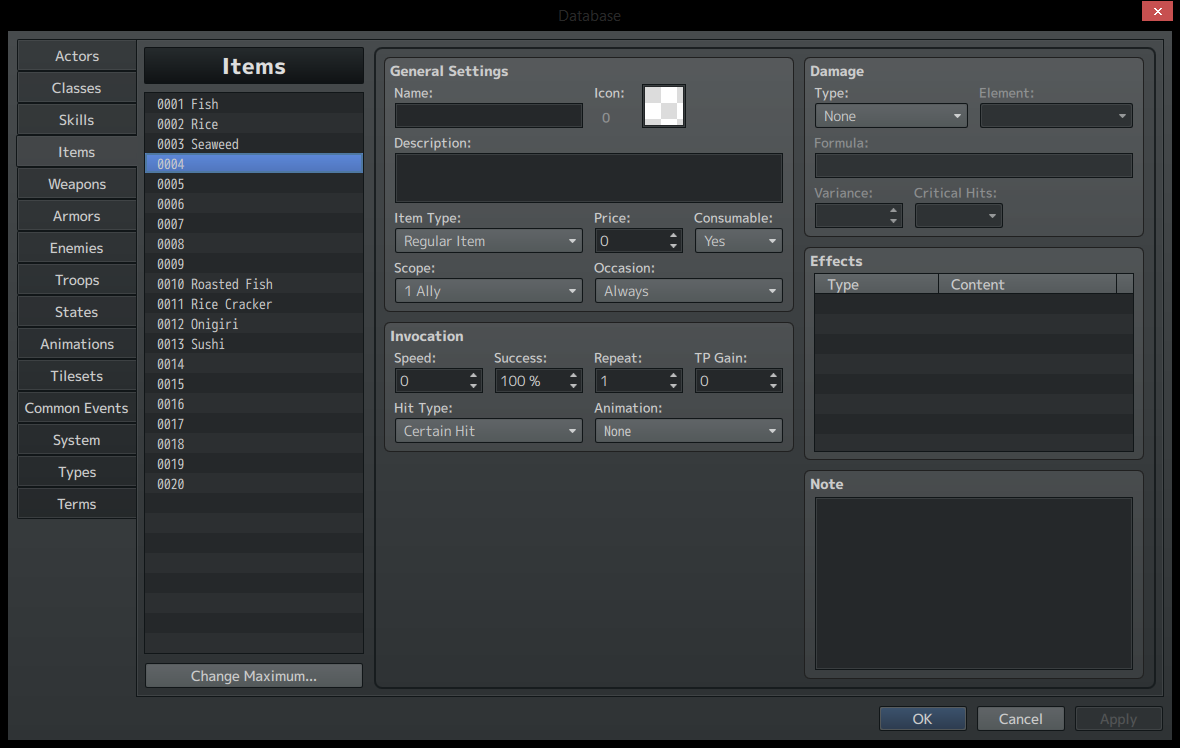
Next, let's get our items taken care of. Harold's already decided what ingredients and cooked foods we'll need, so we just need to stick them into the database.
Since there are a few item types to choose from, decide whether or not you want the player to be able to see what ingredients they have. If you want them to be able to see them, choose either 'regular item' or 'key item', and if you don't want the player to be able see them pick 'hidden item A' or 'hidden item B'. There isn't a wrong choice for this, but make sure that all ingredients have the same item type (since we'll be using the select item event command later).
For this tutorial we'll have both the ingredients and cooked foods be 'regular items'.
If you think you're going to add in more ingredients later, leave some spots open in the item list. It'll make life a lot easier, because once you start making recipes you shouldn't change the locations of the items in the database list.
Step 3: Creating the Ingredient Events
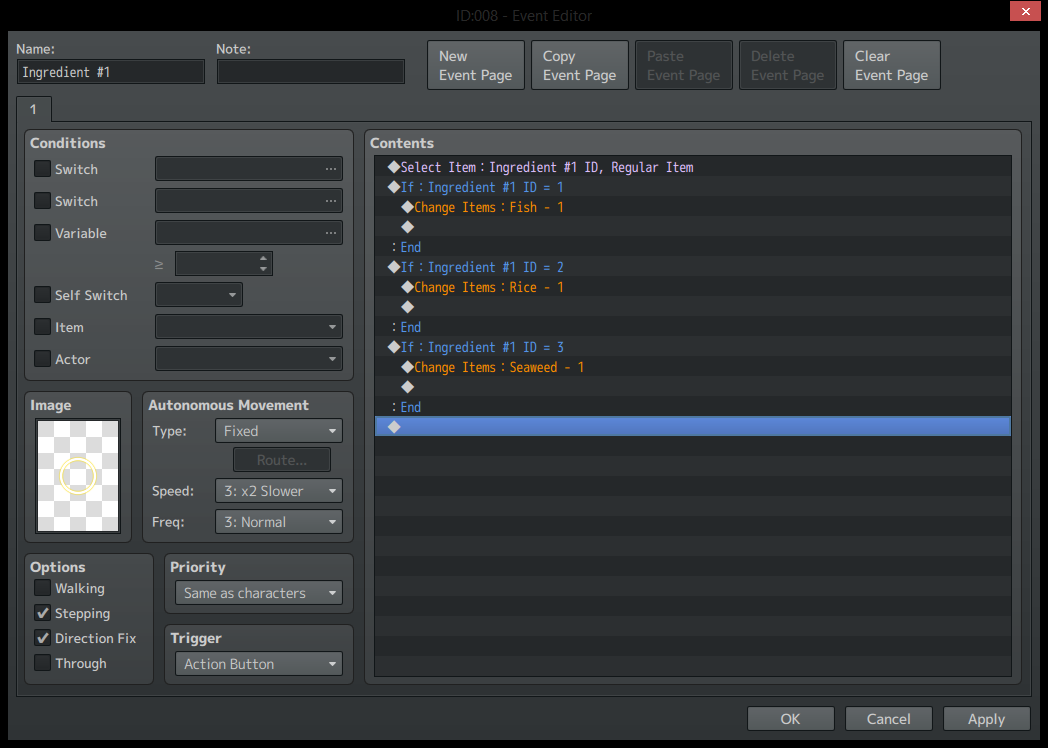
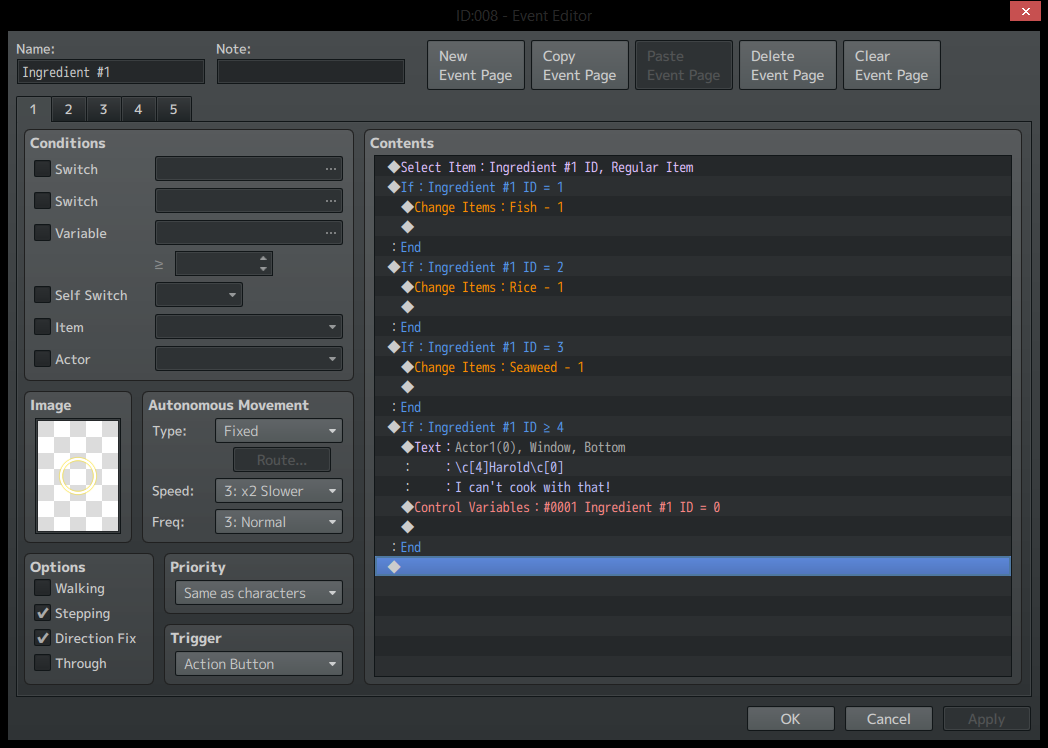
Now it's time to start the actual eventing! We'll start with Ingredient #1's spot. The first command we add is 'select item', with the variable set to 'Ingredient #1 ID' and the item type set to 'regular' (since that's what we set our ingredients to). This lets the player choose what item to put down onto the table.
Next are some conditional branches that check what the variable we just set equals and removes the proper item from the player's inventory. We don't want the player to be able to keep putting down infinite items, now do we?
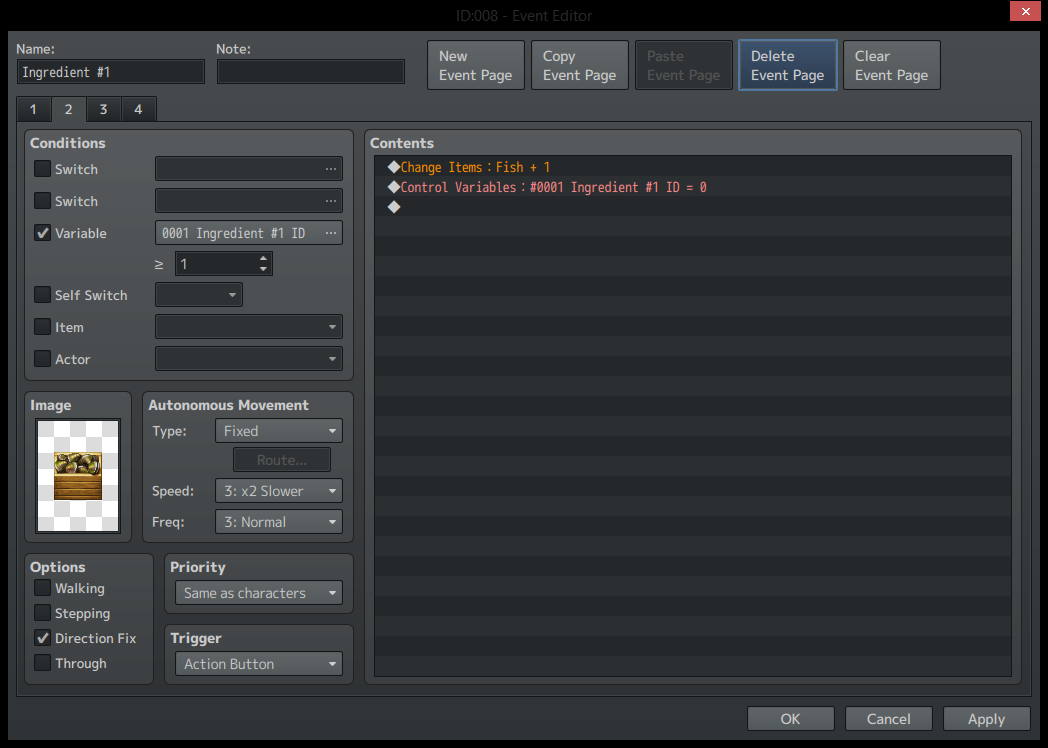
Of course, there are some issues with leaving the event like this. The player can add items, but can't pick them back up! So we need to include some more event pages that will both change how the spot looks and let's the player pick the item back up.
One event page for each possible ingredient (remember when we talked about keeping things simple? The limit to event pages is one of the reasons to do that), with it's condition set to the corresponding variable. Interacting with the page will give the player back the item, and reset the variable to 0, so that the player can put down another ingredient if they want.
That is totally a box of fish, not clams... The default tiles are limited, okay?
Now the event's ready to use! Unless you've done what we did in this tutorial and made both the ingredients and cooked foods 'regular items'. Doing that means that the player can choose to put done a cooked dish, and totally mess up the recipe!
To prevent that, we'll include another conditional branch that checks if the variable is larger than the highest ingredient ID that tells the player they can't add that and resets the variable back to 0. Reseting the variable is super important, since if we don't do that then the recipe will fail later!
I added one final page (page 5) to the event that has a variable >= 4 condition and doesn't have a graphic, so that if the player does try to add something they shouldn't then there won't be any flash of an ingredient appearing.
With Ingredient #1's event finished, we can copy and paste it to make the other two! We just have to make sure to change every spot where a variable is mentioned to the one that fits that event (so Ingredient #2's variables should all be 'Ingredient #2 ID').
There is a way to remove the correct item with only one conditional branch if you use a script call:
Code:
$gameParty.gainItem($dataItems[$gameVariables.value(n)], -1);
Where 'n' is the correct variable for that spot. This script call takes away one of whatever item the player selected. Check out Ingredient #3's event in the demo to see it in action!
Step 4: Creating the Crafting Event
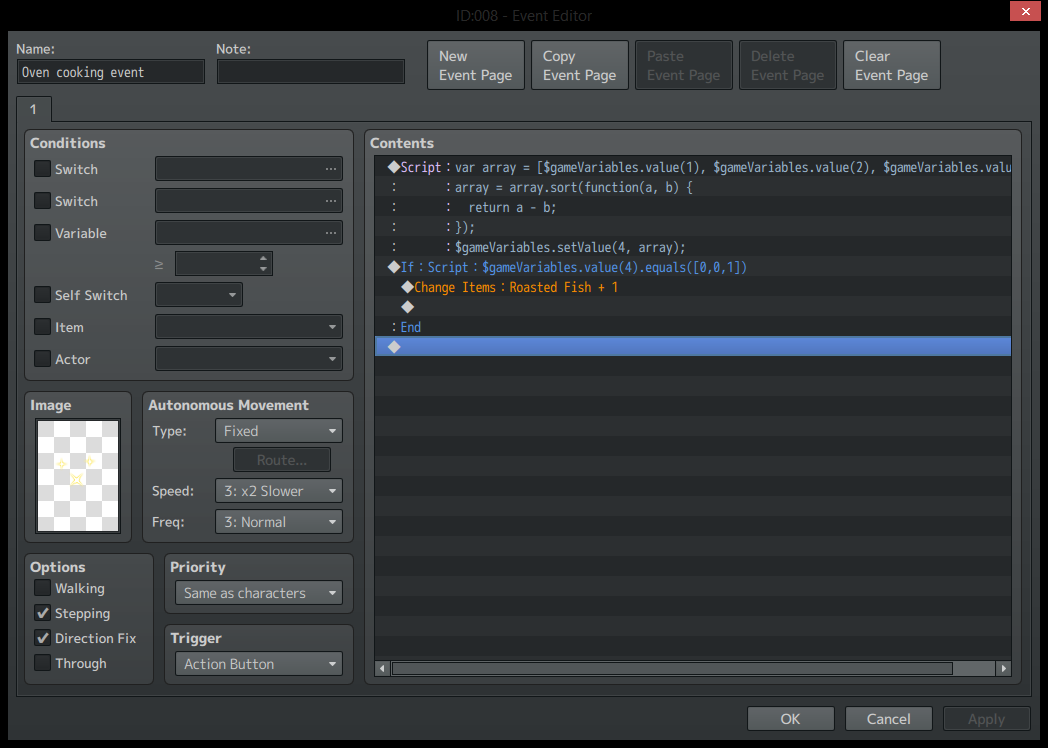
With the ingredient spots finished, the only missing piece is the actual crafting event. The first and most import part of the event is this script call:
Code:
var array = [$gameVariables.value(1), $gameVariables.value(2), $gameVariables.value(3)]
array = array.sort(function(a, b) {
return a - b;
});
$gameVariables.setValue(4, array);
Make sense to you? If it does, then you're better at javascript than I am! If it doesn't make sense, let's look at each part separately.
Code:
var array = [$gameVariables.value(1), $gameVariables.value(2), $gameVariables.value(3)]
This part is what takes our 3 ingredient variables and puts them all in an array as a single list. Say the player put Seaweed in spot #1, Fish in spot #2, and Rice in spot #3, that would make variable #1 equal 3, variable #2 equal 1, and variable #3 equal 2. This script call takes those numbers and puts them into an array like so: [3,1,2].
Code:
array = array.sort(function(a, b) {
return a - b;
});
This is where the real magic happens (I figured out it after seeing
this comment while googling, so thanks Mr. Trivel!). It takes the array we just made and organizes it into numerical order, so if our array is run through this it becomes [1,2,3]! This makes it amazingly easy to compare to recipes now, since we only need the recipes to be in numerical order as well.
Code:
$gameVariables.setValue(4, array);
This last part takes our sorted array and puts it into our combined ingredient variable. And now it's ready to be compared to the possible recipes.
Now that we sort of understand the script call, we can put it into the event along with some conditional branches to compare the player's combined ingredients with the recipes we made. We're using another script call, this time checking to see if our variable matches a recipe (the recipe is presented as another array).
Code:
$gameVariables.value(4).equals([0,0,1])
So in this example it checks to see if the player added just one Fish to any of the spots and left the other two spots empty. If they did, then it rewards them with a Roasted Fish. And that's it! You've just evented a crafting system!
There are a few issues with leaving it like that. First off, the ingredient variables are never reset, so the player could just keep clicking the event and receiving Roast Fish.
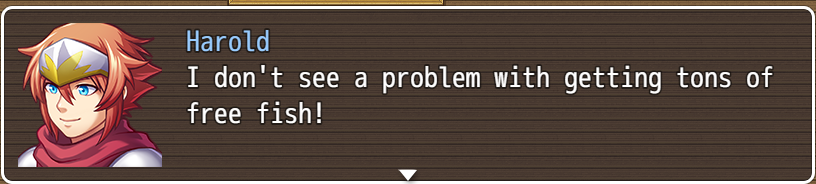
Harold, that would lead to a terribly unbalanced system!
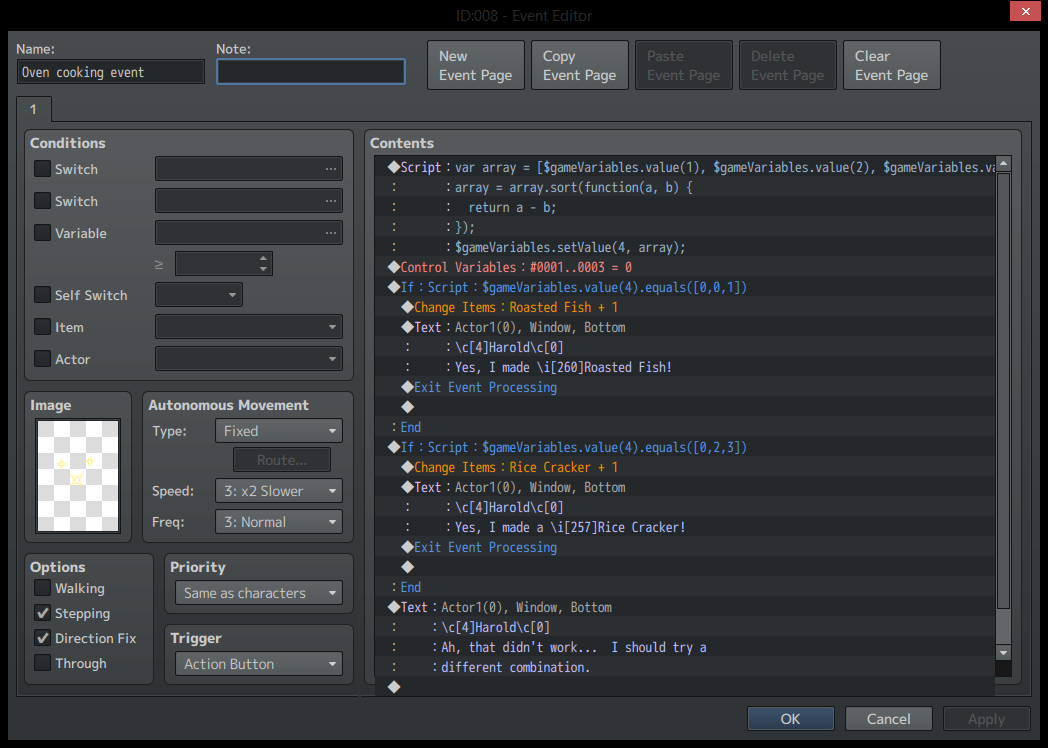
So let's add a reset for those ingredient variables. There are two places you could put it, depending on whether of not you want the player to be able to retry with the same ingredients or not. If you put it above the conditional branches, then the items will be taken away, as if the player ruined them by failing. If you put it inside each of the conditional branches, then the player will be able to go pick the items back up and try something new. Do whichever one you want.
We've also added some comments from Harold, so that the player is informed about what they made. At the very end of the event is the failure message, which tells the player that the combination they tried just didn't work. To make sure that that message doesn't accidentally play if the player is successful, we put an 'exit event processing' into each conditional branch, so that the event stops running once it's found a successful match.
Once you've added all the recipes you want to include, you can truly call your crafting system completely functional!
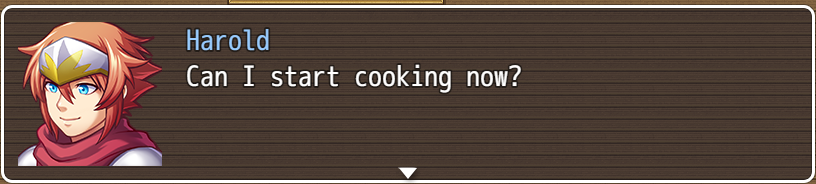
Yes you can! Congrats, Harold, you can now become the chef you've always dreamed of being!
Step 5: Testing and Celebrating
With all our events finished, we just need to test everything. Time to try adding all of your items to see if any sneak past, and to make sure that all of your recipes work. Double and triple check that you're using the right variables in the right spots (it's easy to forget to change one conditional event, and that can cause everything to break). Once you've tested things, then you can celebrate your success!
If you'd like to take a look at how all the events work together, go ahead and download the
demo project.
And that's it! The more ingredients and recipes you add, the more complicated this system can get, so start simply to get the hang of it. Good luck with your game making!
If you've got any questions, comments, suggestions, or other things you'd like to see, just let me know!




 UGREEN Nexode Air 45W USB-C Charger Block
Compact foldable GaN charger for phones, tablets, and light laptop charging.
View on Amazon
UGREEN Nexode Air 45W USB-C Charger Block
Compact foldable GaN charger for phones, tablets, and light laptop charging.
View on Amazon