- \ #000000">Audio< General > Suggested Software Tools#808080">Audacity Sound Editor
Using Audacity is not required, although all of the steps for this tutorial will be done using that program. This is a fairly easy to use and completely free sound editor.
- #808080">fre:ac Audio Encoder/Converter
If you already have audio files created for your project and want to manage their size through compression, I suggest using #808080">fre:ac. The program has a straight forward interface and configuration is quite easy.
[*]
Optional Software Tools
- #808080">MP3Gain MP3 Audio Normalizer
Occasionally I will come across MP3s that are just outright loud or strangely quiet. I use this utility to bring their default volume up or down to a more acceptable level. This can be done within Audacity as well.
[*]<
Looping (VX/VXA) >
Although the
Graphics directory is often the biggest offender of project size bloat, the
Audio directory can often rival or in many cases surpass its graphical neighbor.
One way to help reduce the bulk of your
Audio directory is to find a section within the music files to lock into an endless and flawless loop. To show the steps required to make a looping OGG file, I have created a short tutorial video which can be viewed below or by clicking the following link :
#808080">RPG Maker VX/VXA Audio Looping Tutorial
[*]<
Media Compression (XP/VX/VXA) >
If the complicated process of creating audio loops for your project is not something you want to take on or is otherwise not an option, you should consider at least compressing your media so that it takes up less space. Even if you are someone who enjoys high quality audio, I'm sure that you would be surprised about how far you can compress an audio file and still maintain great quality.
In this tutorial, I will be going through setting up
#808080">fre:ac to encode and heavily compress MP3 files into OGG files. Please note that you could also use
#808080">Audacity to compress your files, although
#808080">fre:ac is better for handling a large quantity of files at once.
- < Step 1a > : Before we get started actually compressing audio files, we'll need to change a few settings from their defaults. After opening #808080">fre:ac, go to the Options menu and select the General Settings ... option.
- < Step 1b > : Within the Encoders tab and under the Encoder subsection, click on the drop down menu and select the Ogg Vorbis Encoder option. Next, click on the Configure Encoder button which is just to the right of the drop down menu.
- < Step 1c > : Make sure that the VBR (Variable Bitrate) option is selected before dragging the quality slide bar to the left. Personally, I prefer to set the quality to zero as I have found this squeezes the most out of the source media while leaving pretty decent quality in the end result. If you wish to adjust the slide bar and test your files at different levels of compression, simply make your changes here.
To save the compression settings, press the OK button.
- < Step 1d > : If your audio files are already in use within your RPG Maker project, you will need to change another option to keep the program from renaming your files as it encodes them. Within the Encoders tab and under the Filename Pattern subsection, click on the drop down menu and select the <filename> option. This will maintain the naming conventions that you currently have in place. Otherwise, the program will use any metadata tags (ID3, OGG comments, etc) to rename the compressed file.
- < Step 2a > : Now we'll add the files that we want to compress to the joblist. To do this, simply click on the Add Files button, or click on the drop down arrow beside the button for more options. In this example, I will be using the From Directory ... option, as this allows me to add an entire directory of audio very quickly.
- < Step 2b > : After clicking on the Browse button on the Add Directory window, we'll navigate to and then select the directory which contains the source audio files. After selecting the directory, press the OK button and the program will add the files to its joblist.
- < Step 3 > : Now that the audio files have been added to the joblist, make sure that the Output Dir is set to the directory where you wish to have the compressed output sent to.
Next, we'll make certain that our current encoder is set to Ogg Vorbis. This can easily be determined by looking at the Selected Encoder field which is just above the Output Dir field near the bottom of the program window.
Once everything is set, we can start encoding either by pressing the Start Encoding toolbar button near the file menu at the top of the program window, or clicking on the Encode menu and selecting the Start Encoding option.
- < Step 4 > : And we're done! Verify that all of the files have been encoded properly by listening to them before adding them to your project.
- < Step 5 > (Optional) : If you're worried about heavy loss of quality, you could use #808080">Audacity or your favorite media player to toggle between each file, listening carefully to determine if more quality should be applied. Simply return to Step 1c and change the quality setting should you feel that more quality is needed. However, remember that often you will be the only one to notice small drops in quality once your game is released.








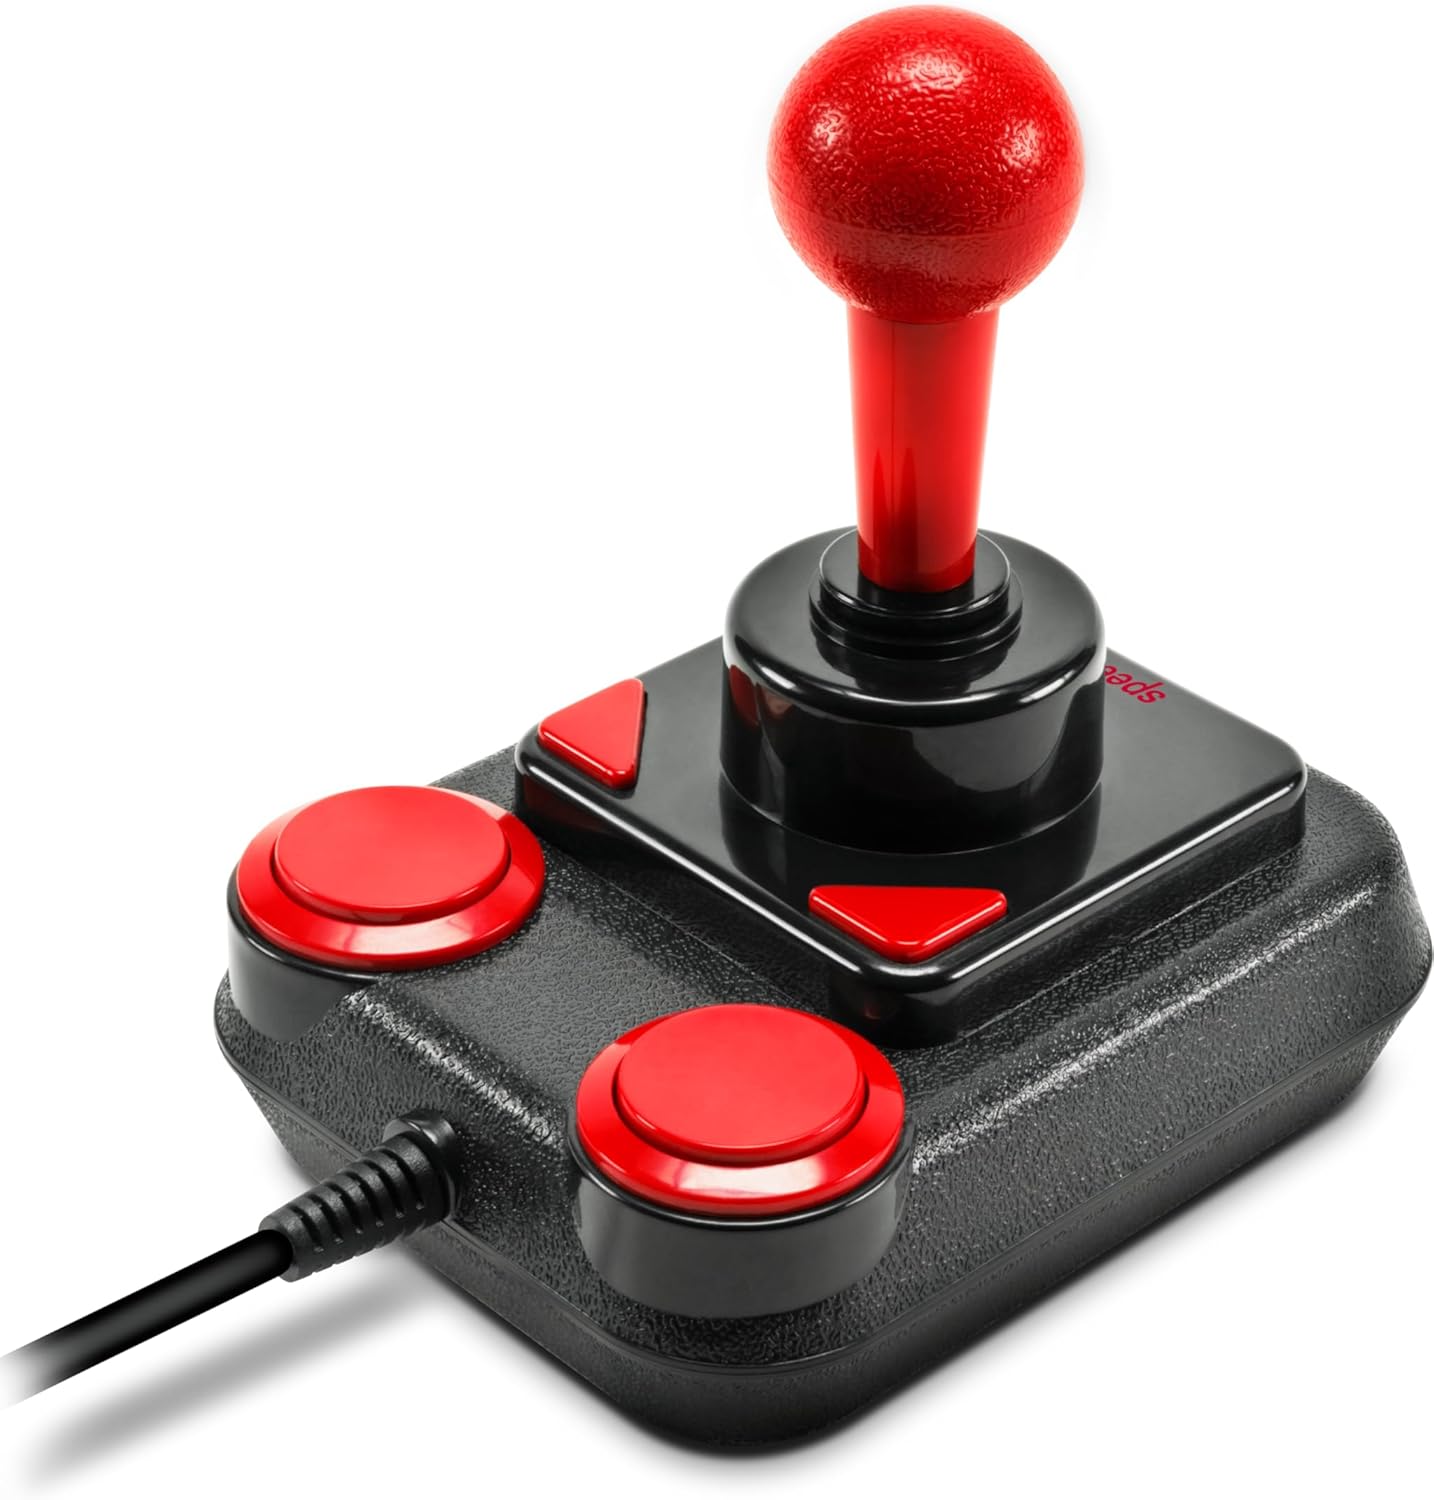 SPEEDLINK Competition Pro Extra USB Joystick
Retro USB arcade joystick for classic PC and Android gaming sessions.
View on Amazon
SPEEDLINK Competition Pro Extra USB Joystick
Retro USB arcade joystick for classic PC and Android gaming sessions.
View on Amazon